
In this article, you’ll discover how to add a WhatsApp button, a floating widget, a chatbot, or a live chat system to your website.
But first, let’s show you why you need this comprehensive guide.
Why should you add WhatsApp to your website?
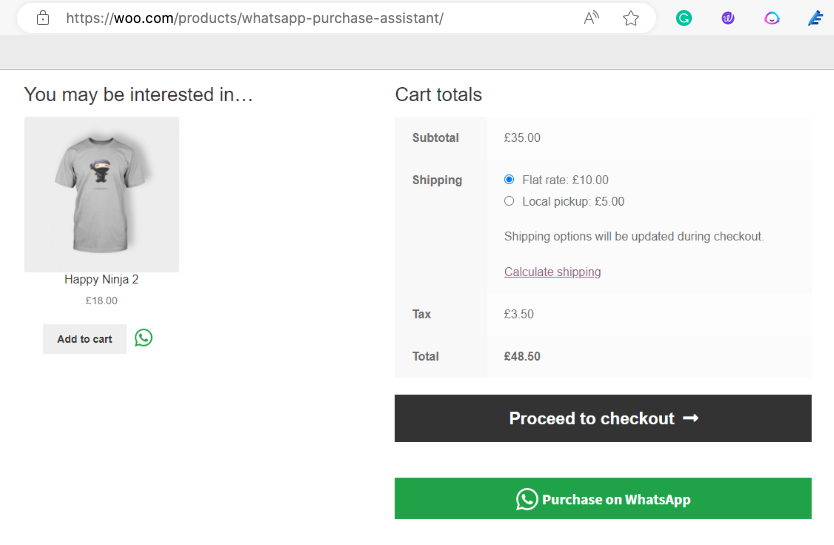
Your website is the first point of contact for potential customers. But what happens after they leave your site?
Here’s why you should add WhatsApp to your website.
- Sometimes all customers need is a little nudge. A direct WhatsApp message can ensure this.
- WhatsApp is faster than email and more convenient than phone calls. You can solve customers’ problems and make them happy. Happy customers = more money.
- WhatsApp lets you answer their questions and clear their doubts. Customers only need a little reassurance before they buy. Fewer doubts = more sales.
- More engagement = more repeat purchases. You can hook your customers to your brand. WhatsApp lets you share news, updates and offers with your customers. You can also run contests and giveaways to reward them.
- WhatsApp is secure, with end-to-end encryption on all messages. Plus, two-factor authentication is extra protection from data scavengers.
- WhatsApp saves you money and time. No need to launch expensive marketing and advertising campaigns. You can also automate your messages and send quick replies.
- A WhatsApp Business profile makes you look more professional than using your personal number. You can also use labels to organise your chats and contacts.
- You can add a personal touch to your communication. Emojis, voice notes, images, videos, and other formats make your messages more engaging and human. A personal touch can boost customer satisfaction, loyalty, and trust.
Next up, let’s look at the 5 ways to add a WhatsApp button to your website.
#1. How to add a WhatsApp button to your website
To enable a functional WhatsApp button on your website, you’ll need the widget script.
Without it, the button will simply appear as a static image. It’ll be unable to direct visitors to chat on WhatsApp when they click on it.
How do you paste the widget script on your website? Follow these steps:
- Access settings: You’ll find the “Settings” section of your website’s dashboard.
- Locate the “Web Widgets” option: This subsection manages various widgets for your website.
- Select the WhatsApp widget: You’ll find it in the list of available widgets.
- Click on the WhatsApp widget “Installation” button: You’ll find specific instructions to embed the widget into your website’s code.
- Copy-paste widget code: Carefully copy the provided widget code. This code contains instructions for the WhatsApp button to work properly.
- Locate the HTML source code: of the web page where you want to display the WhatsApp button.
- Paste the widget code: Identify the appropriate location within the HTML source code to paste the widget code. The recommended placement is before the closing </head> tag. This loads the widget as part of the page’s initial rendering.
- Save the changes made: Save the changes in the HTML source code to add the WhatsApp link.
- Test functionality: Refresh the web page to confirm that the WhatsApp button functions correctly.
That’s how to add WhatsApp to your website’s HTML code. Follow this video if you want to see everything in action.
It’s a straightforward approach. Yet, modifying your website’s code can be exhausting.
And that’s where Google Tag Manager (GTM) comes in.
#2. Using Google Tag Manager (GTM)

GTM allows you to manage tags and triggers. It means you can totally avoid directly modifying your website’s HTML code.
Using GTM to add a WhatsApp button to your website simplifies the process.
Follow these steps to add WhatsApp to your website using GTM:
- Log into your Google Tag Manager account. Or sign up for a free GTM account.
- Select the appropriate account associated with your intended website.
- Create a new tag. Click on the “Tags” option from the main menu. Then, choose the “New” button. It automatically creates a new tag specifically for the WhatsApp button.
- Configure Tag as ‘Custom HTML’. In the “Tag Configuration” section, select “Custom HTML” from the available tag types. This indicates that you’ll be manually entering the HTML code for the WhatsApp widget.
- Obtain WhatsApp widget installation code. Navigate to the “Settings” section of your Trengo account. Under the “Web Widgets” tab, locate the WhatsApp widget and click on the “Installation” button. Copy the provided widget code, ensuring you capture the entire code snippet.
- Paste widget code. Return to the GTM tag configuration and paste the copied WhatsApp widget code into the “HTML” field provided.
- Enable ‘Support document. write’. Check the box next to “Support document. write” to ensure compatibility with the widget code.
- Choose a trigger. A common choice is the “All Pages” trigger. It ensures the button appears on all pages of your website.
- Save and submit configuration. Click on the “Save” button to complete the tag configuration. Then, submit the changes by clicking on the “Submit” button.
- Publish to save the changes. You’ll find the “Publish” button in the top right corner of the GTM interface.
Another way to avoid modifying your website code is via WordPress integration.
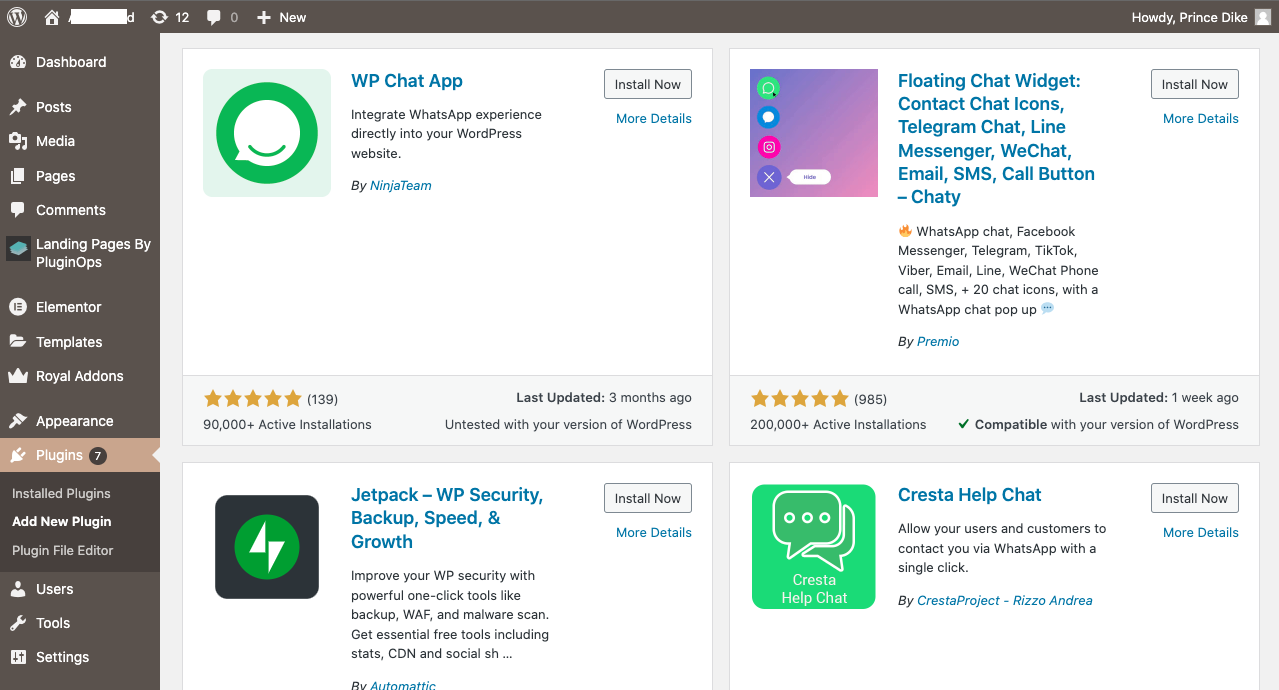
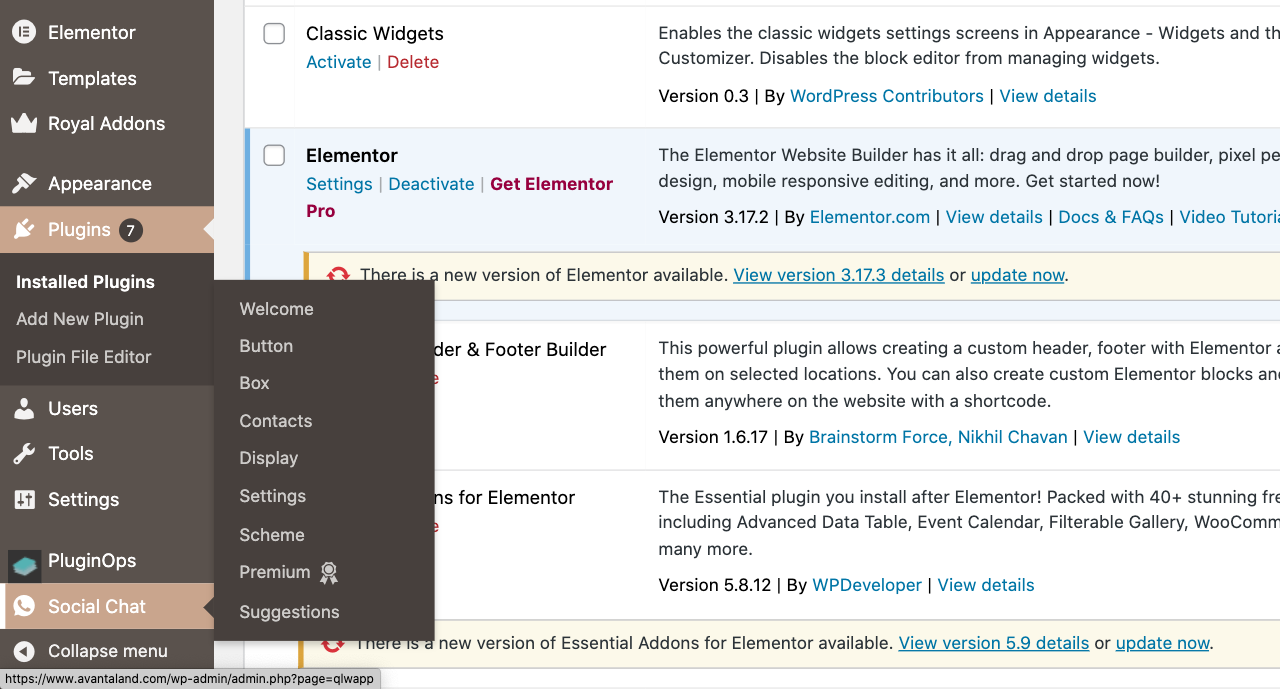
#3. Integrating WhatsApp into your WordPress website
Wondering how to add a WhatsApp chat and share button to your WordPress website?
It’s easy.
WordPress works better with plugins. So, you’ll need a user-friendly plugin that integrates WhatsApp into your WordPress website.
Here’s how to add a WhatsApp plugin to your WordPress website:
- Navigate to your chat plugin account and select “Settings” from the main menu.
- Locate the “Web Widgets” option. You’ll find it under the “Settings” section.
- Identify the WhatsApp widget associated with your website. Then click on the “Installation” button.
- Copy the provided JavaScript code. Capture the entire code snippet.
- Embed code using the plugin. Install and activate a WordPress plugin specifically designed for embedding scripts in the header or footer of your website. Popular options include Header and Footer Scripts and Insert Headers and Footers.
- Access the plugin’s settings page. This can typically be found under the “Settings” menu in your WordPress dashboard. And paste the copied JavaScript code into the designated header or footer scripts.
- Save the changes made to the plugin’s settings.
See? Easy-peasy.
Other integration methods
Third-party plugins are convenient and user-friendly. However, there are alternative methods to add WhatsApp to your website.
#4. Using WhatsApp chatbot solution
You can create a chatbot with a WhatsApp business solution like TelebuSocial and deploy it on your website. It’s easy, and you get all the support you need every step of the way.
That’s not all. You can also use the TelebuSocial bot on WhatsApp, IG, FB and other social media channels. No matter the channel(s) you publish it in, you can manage all your conversations from one app.
Here’s how to add our WhatsApp API to your website:
- Create a WhatsApp Business Account. It’s the first step. WhatsApp APIs only work with WhatsApp Business accounts.
- Connect your WhatsApp Business to our WhatsApp Business Solution API. We’ll help you make the integration process seamless.
- We’ll help you test and deploy integration. Thoroughly test the WhatsApp integration to ensure seamless communication, error handling, and compliance with WhatsApp’s guidelines. Once testing is complete, deploy the integration into your production environment.
Learn more about how TelebuSocial can help you with a quick demo.
#5. Using the GetButton chat widget
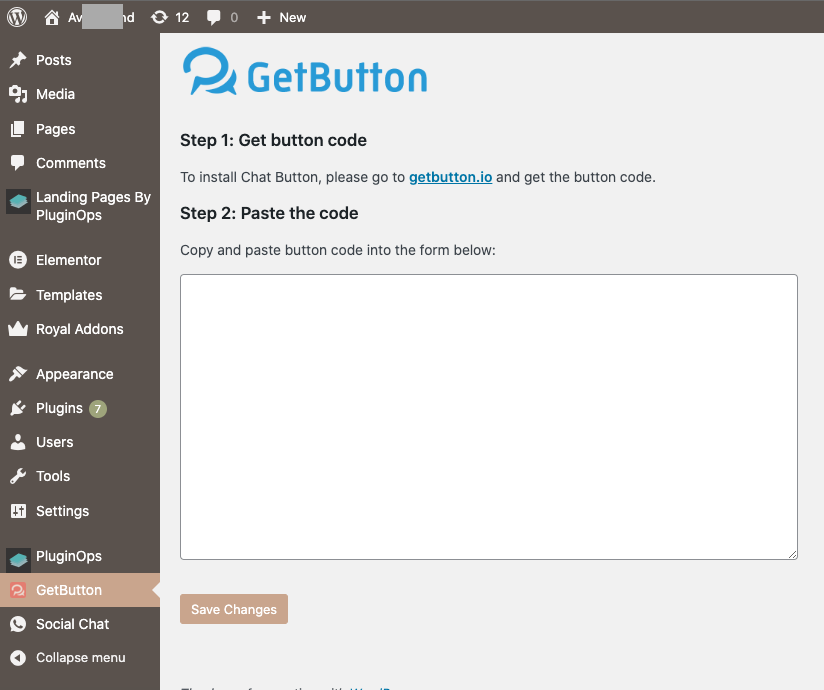
The GetButton chat widget is another straightforward method. It comes with a pre-built widget that can be easily embedded into your code.
Here’s how to use the GetButton Chat widget:
- Log in to or sign up and get your GetButton account. It’s free and easy. Enter your email and password, and you’re good to go.
- Customise your WhatsApp chat widget. You can choose the colour, shape, position, icon, or text. You can also set up when and how the widget should appear on your site. For example, you can make it pop up after a certain time or when the user scrolls down.
- Generate the widget code. GetButton will create a unique code snippet for your WhatsApp chat widget. This code tells your site where and how to display the widget. You just need to copy it and save it for later.
- Embed the widget code into your site. You need to paste the code snippet into the right place in your site’s code. Usually, this is in the header or footer section of your site. If you’re not sure how to do this, check out our guides for different platforms and tools.
- Test and deploy the integration. You should check if the WhatsApp chat widget works properly and looks good on your site. If everything is fine, you can launch the integration and enjoy chatting with your visitors through WhatsApp.
Like many others, GetButton has annually billed pricing plans. So, be sure to choose a plan that suits your needs and budget.
How do you choose between these methods?
For the record, you need full control over how WhatsApp works on your website. That’s why the WhatsApp chatbot solution is the best option.
A WhatsApp chatbot solution lets you customise anything you want.
Worried about the hassle of coding and testing? We’ve made it easier for you.
What are the use cases for chat widget integration?
How and for what can you use WhatsApp on your website? Here are four use cases.
- WhatsApp general live chat: Chat with your website’s visitors, answer questions, provide feedback, or have fun. Customise the widget to complement your brand and style.
- WhatsApp support chat: Provide customer service and technical support. Troubleshoot issues, offer solutions or guide customers. Set up automated messages to greet and help customers.
- WhatsApp sales chat: Boost your sales and conversions. Display your products or services, offer discounts or deals, or persuade customers to buy. Track the performance of your widget and see the impact on sales. Reward your loyal customers with freebies or bonuses.
- WhatsApp booking chat: Facilitate bookings and reservations. Let customers book appointments, events, or services from your website. Sync your widget with your calendar and send reminders. Cancel or reschedule without hassle.
Those are some of the use cases for WhatsApp chat widget integration.
FAQs
How is WhatsApp web secure?
WhatsApp web utilises end-to-end encryption to safeguard user conversations. This ensures that messages are only accessible to the sender and recipient, preventing unauthorised access.
How do I use WhatsApp business for my website?
There are several methods for integrating WhatsApp Business into your website:
- Third-party plugins like Trengo or Chaty simplify the integration process.
- WhatsApp API/chatbot. Our WhatsApp API/chatbot gives you full control over the integration.
- Dedicated chat widgets like GetButton or Userlike for a user-friendly approach.
What are the limitations of personal WhatsApp integration?
Personal WhatsApp accounts are not for business purposes. Plus, they have limitations in terms of features, scalability, and data management. Consider a WhatsApp Business account. Or use a WhatsApp Business API to automate your WhatsApp conversations and enjoy WhatsApp’s best features.


0 Comments